> For the complete documentation index, see [llms.txt](https://help.flowerbuddy.co/llms.txt). Markdown versions of documentation pages are available by appending `.md` to page URLs; this page is available as [Markdown](https://help.flowerbuddy.co/reference/forms/form-editor/form-details/configure-form-details.md).
# Configure form details and event creation
Configure the form details before you share its public link. These settings determine how the form is identified, whether a response starts an event, and what a recipient can do after submitting.
## Set the form name and description
1. Open the form from the **Forms** tab.
2. In the Form Editor, select the form name or its edit icon.
3. Update **Name**, then move focus away from the field or select its check control to save it.
4. Edit **Description**, then click outside that field to save it.
The description is for the Forms collection. It does not appear to the recipient.
## Connect submissions to events
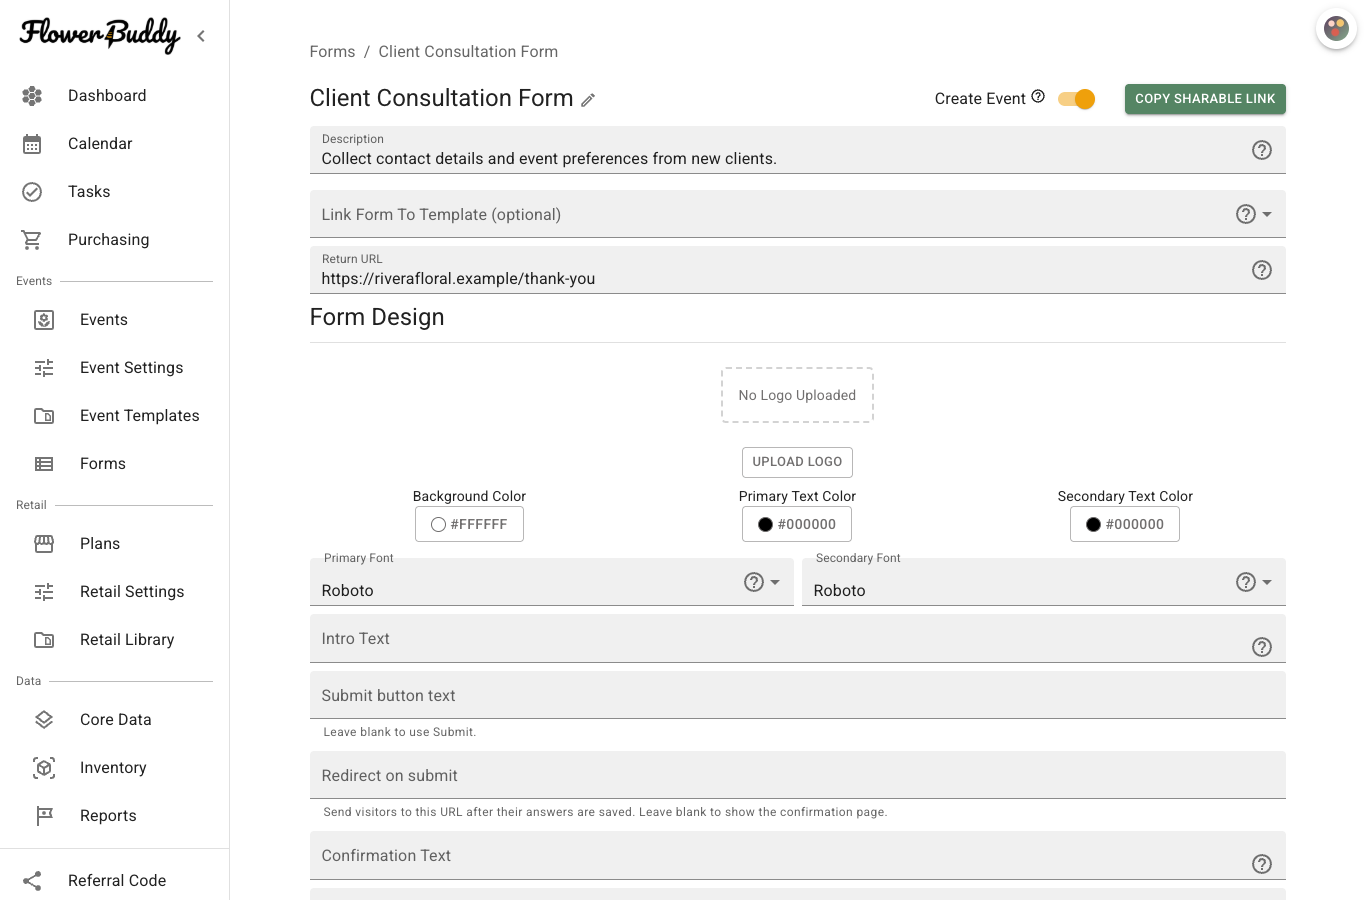
1. Turn on **Create Event** when each response should start a new event.
2. If the form should use a reusable event setup, open **Link Form To Template (optional)** and choose an event template.
3. Leave the template unset to use your workspace's [Event Settings](/reference/event-settings.md) defaults.
The first **Event Date** field supplies the event date. If a form used for event creation has no event date answer, FlowerBuddy uses a date 30 days after the submission date. A linked event template also supplies the recipe choices available to **Recipe Quantity** fields.
Turning **Create Event** off removes the template link from the form settings. A response still becomes a form submission, but it does not start an event through the automatic event-creation path.
When **Create Event** is enabled, the response is linked to the new event after event creation completes. Review and archive the response from **Form Submissions**.
## Add a return destination
Enter a complete address in **Return URL**. After a successful submission, the public form can show **Return to Site** and use that address. Leave the field blank to keep the recipient on the confirmation page without a return button.
The Form Editor keeps the event and return settings above the design controls.
## Set the submit button and redirect
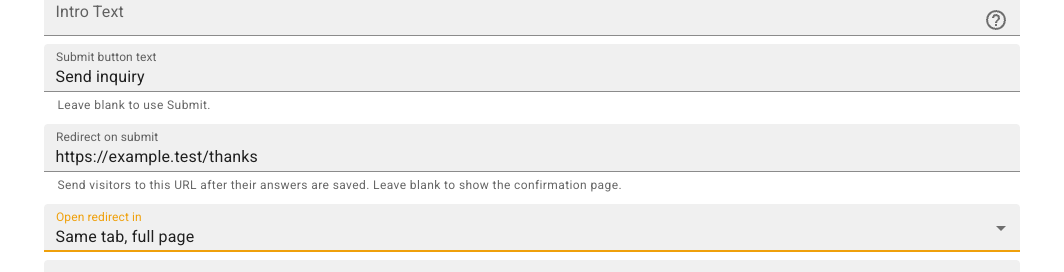
Use **Submit button text** to name the final action, such as "Send inquiry." Leave it blank to use **Submit**. Click outside the field to save your change.
To take the recipient to another page after their answers are saved, enter a full address beginning with `https://` or `http://` in **Redirect on submit**. For example, you could send them to your appointment-booking page. Click outside the field to save, then use **Open redirect in** to choose **Same tab, full page** or **New tab**.
Leave **Redirect on submit** blank to show the confirmation page instead. This automatic redirect is separate from **Return URL**, which gives the recipient a return link to select.
In this example, the form uses **Send inquiry** for its button and opens the destination in the same tab after submission.
When the form is ready, [preview the public form](/reference/forms/public-form/preview-a-public-form.md) and then [share or embed it](/reference/forms/forms/share-and-embed-a-form.md). Before submitting the form, review its confirmation text, email confirmation text, and **Create Event** setting because a response can send a notification and can create an event.